Back to ABBYY Blog
Smartwatches, Live Translation and Cloud Storages
July 10, 2018
July 10, 2018
Editorial note: FineReader PDF Mobile for Android, Business Card Reader for Android, and Text Grabber for Android & iOS have been discontinued since September 2023. You can learn more about that here.
In one earlier newsletters, we offered tips on using smartphone while driving. Today we’re talking about wearable gadgets, which have lots of uses and can greatly improve driving experience. Also reveal our latest technology, Real-Time Translation, and review cloud storages.
Smartwatches can receive and display some information from smartphones, such as notifications and incoming calls, allowing users to answer phone calls without even taking out their phones from their pockets and generally stay connected 24/7.
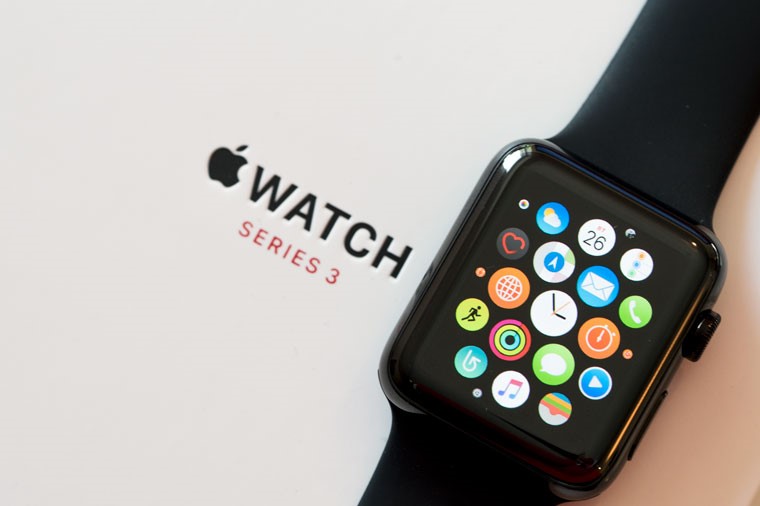
The Apple Watch Series 3 has been voted the most popular watch of 2018. What really makes this model stand out from the crowd is its SIM card, which lets you make calls and use iMessage even when you don’t have your iPhone to hand. Unfortunately, this functionality will not be available to users in Russia because Russian law does not allow SIM card cloning.
To use an Apple Watch Series 3, you need an iPhone 5s or later with the latest iOS.
How to pair up your Apple Watch with your iPhone
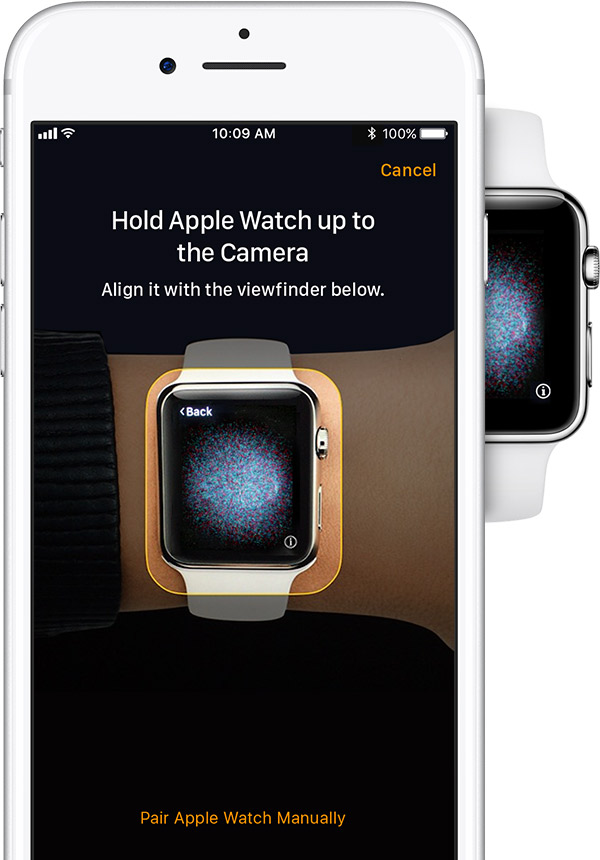
Click here for detailed instructions on how to set up your watch.
What your Apple Watch can do for you
There are thousands of apps for your Apple Watch available for download. Here’s a rundown of those that we think you should try first.
With the Apple Watch app installed on your iPhone, you can use so-called complications to extend the functionality of your Apple Watch apps, fine-tune your apps, add or remove apps in the Dock, and choose watch faces.
To install a complication:
Now tap Edit, make the necessary modifications, and tap Done when you’re finished.
The watch will relay all notifications and calls from your phone. You can use it to answer calls and respond to messages. The watch is a cinch to use while you are driving, as you can easily take calls without taking your hands off the wheel. You can also use your watch to select music from your playlists.
Your watch comes with a very useful app called Activity, which tracks your movement throughout the day. It has a basic uncluttered interface, displaying your daily physical activity in the shape of multicoloured rings. Each ring tracks a specific kind of activity. The red ring shows how many calories you’ve burned, the green ring shows how many minutes you’ve spent engaging in some physical activity, while the blue ring serves to remind you that you’ve been static far too long and need a stroll or some gentle exercise.
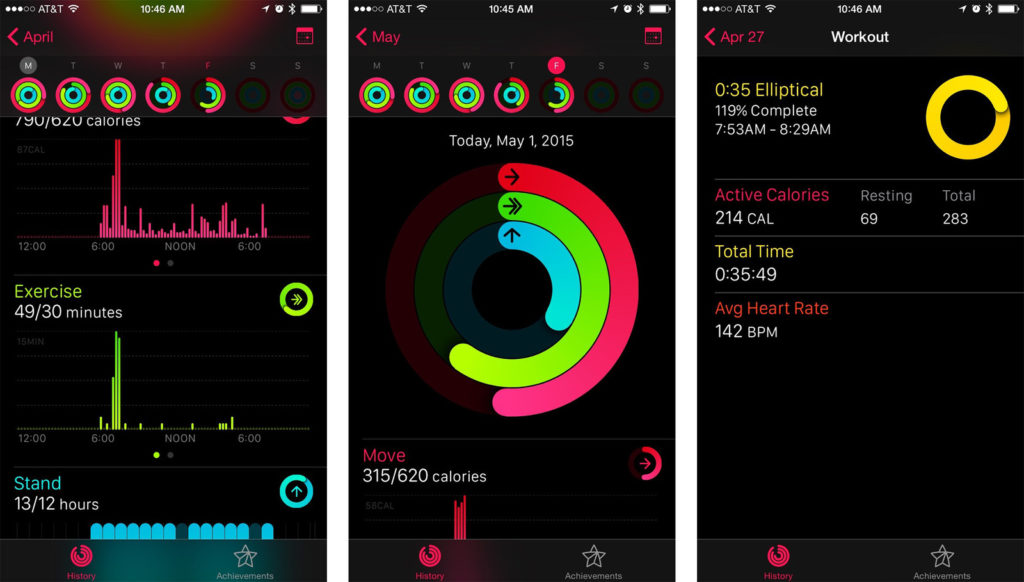
For the sporty types among you, there is an app called Workout, where you can select various kinds of exercise, see how many calories you’ve burned, and monitor your progress.
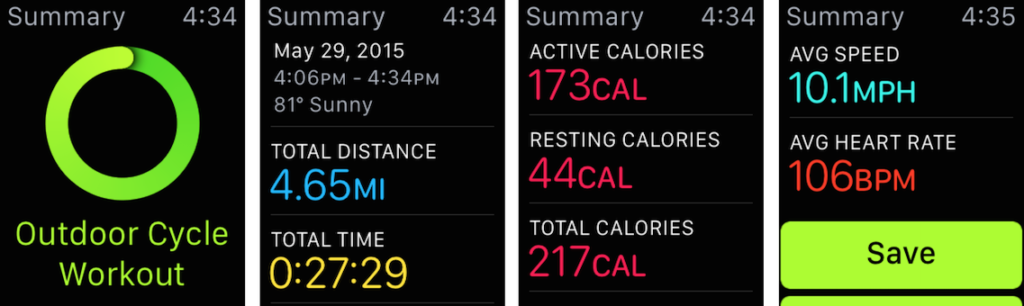
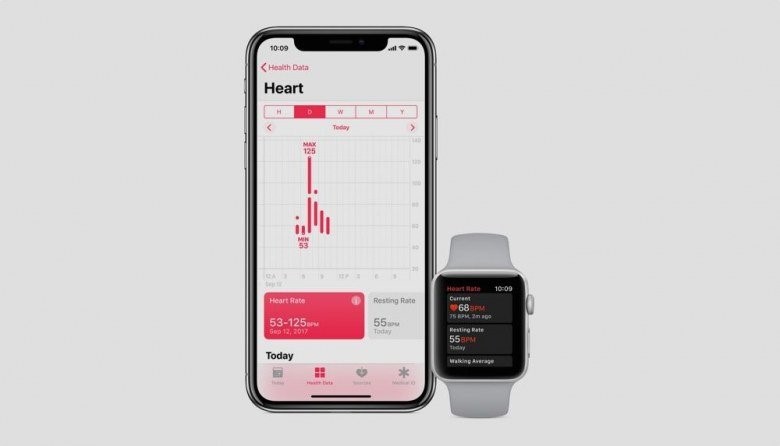
The Heart Rate app monitors your heart rate minute by minute and compares it against your activity statistics. All the statistics from the Heart Rate, Activity, and Workout apps are automatically shared with the Health app on your iPhone.
There’s yet another app for the health conscious, which is called Breathe. It helps you concentrate on your breathing for one or five minutes and provides vibrating cues for you to breathe in and out. This is not unlike meditation when you can relax and think about nothing.
You will have noticed that Apple care so much about the health of their users that they have designed several apps to help them stay fit. They are also planning an update for WatchOS 5, which will enable users to challenge each other and earn points for running and exercise.
Of course, you can also use your Apple Watch to talk to Siri.
All Apple Watches require iOS and will not work with Android devices.
Unlike iOS, there are lots of different smartwatch models available for Android. Big vendors like Xiaomi, Huawei, LG, and Sony all have something to offer. Additionally, there are manufacturers that specialize exclusively in wearable tech, such as Garmin, Amazfit, Casio, and Polar.
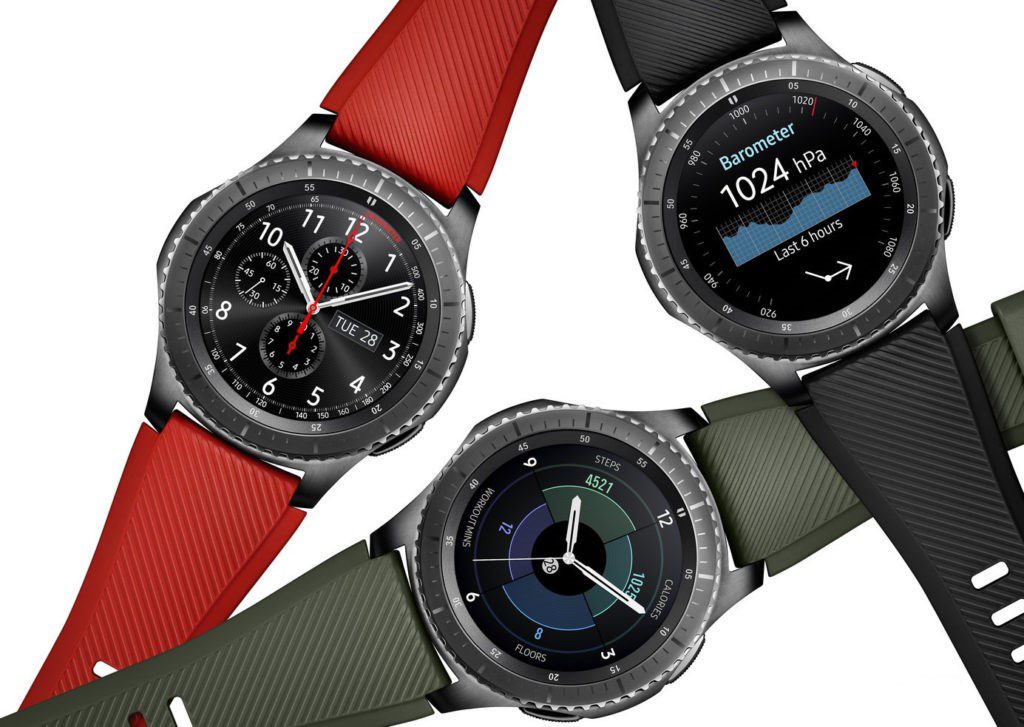
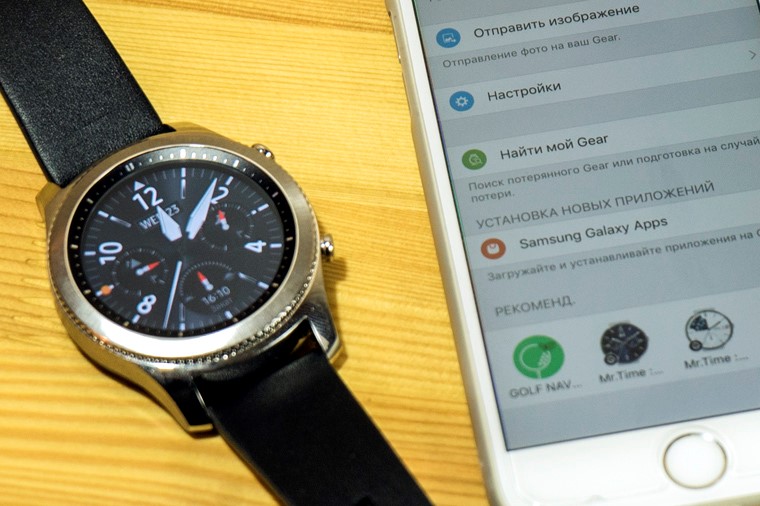
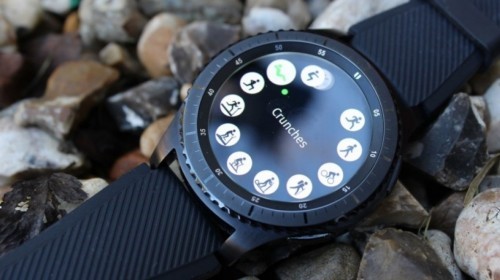
Today we will tell you about the Samsung Gear S3, which has been ranked among the three best smartwatches in 2018. This model supports both Android and iOS smartphones.
To pair up your Gear S3 with your Android smartphone:
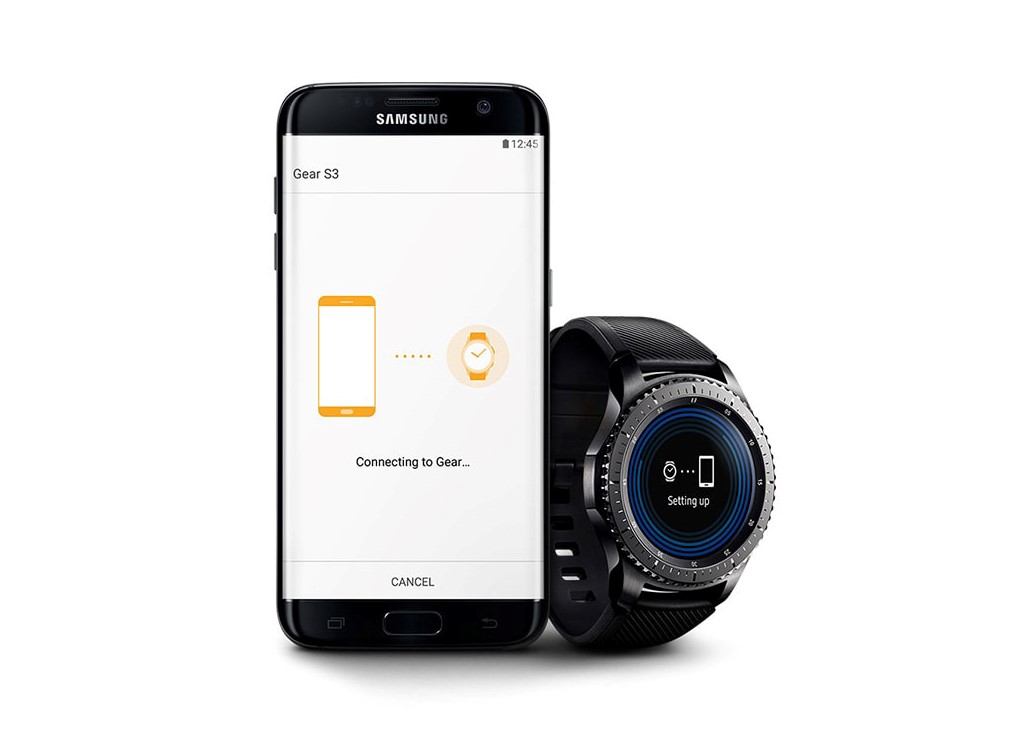
Connecting via Bluetooth:
Click here if you need more detailed instructions.
To pair up your Gear S3 with your iOS device:
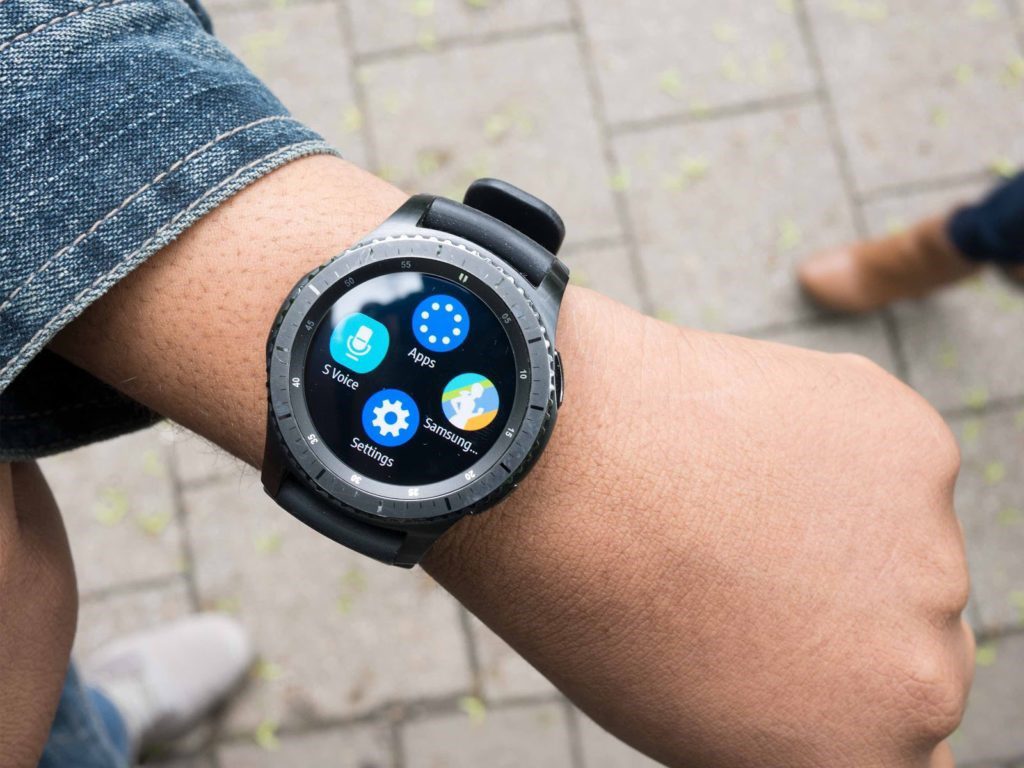
What your Samsung Gear S3 can do for you
Just like the Apple Watch, the Samsung Gear S3 allows you to receive and make phone calls, send messages, and track your physical activity. The standard apps include S Voice, Music Player, Weather, S Health, Contacts, Phone, Messages, Find My Phone, Gallery, News Briefing, World Clock, Alarm, Calendar, Reminders, and Alti-Barometer (which measures the atmospheric pressure and altitude). Other apps can be easily installed from the Galaxy Apps store.
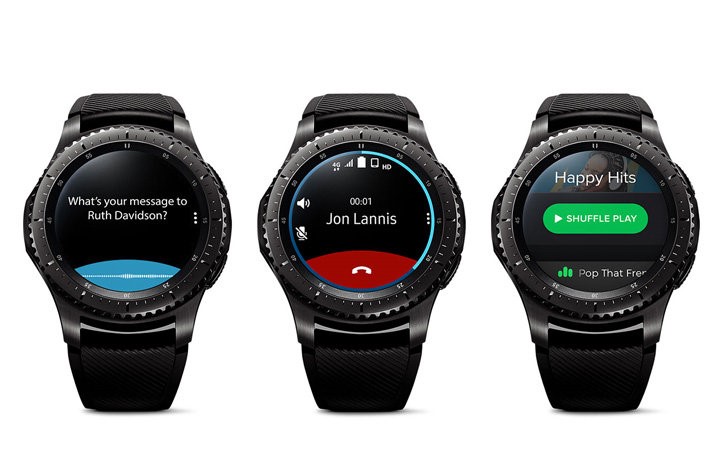
You can perform lots of tasks by simply speaking into your Samsung Gear watch. To invoke the S Voice app that handles your spoken commands, simply say “Hi, Gear”. S Voice allows you to launch apps, set timers and alarms, look up weather forecasts, and do a lot more besides.
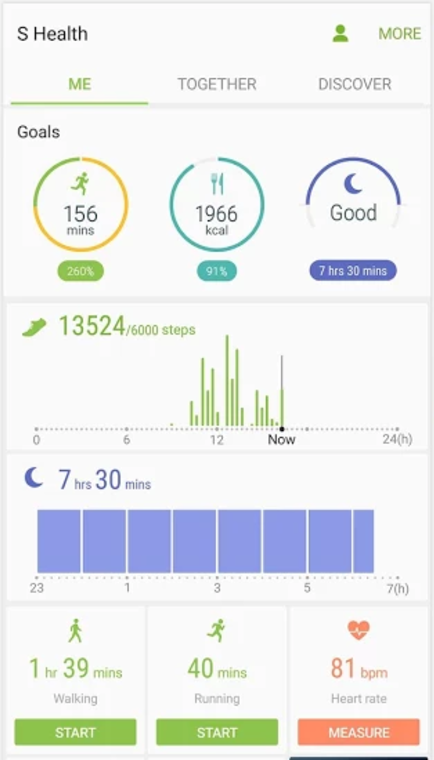
S Health is a fitness app that automatically tracks your activity 24/7. The statistics gathered by the app include the number of steps you’ve walked and the stairs you’ve mounted, your heart rate, and sleep times. There’s also an exercise mode. You can then review the gathered data either directly on your watch or in a dedicated app on your smartphone.
The built-in GPS sensor enables you to find out your location, plan routes, calculate distances to desired destinations, and even find the best cafés and restaurants nearby (this is something not available on the Apple Watch).

In an emergency, you can send out an SOS message by pressing the Home key three times. This will send your exact location to your selected emergency contacts.

Recently we announced our new real-time translation technology for TextGrabber iOS. This new tech allows you to translate text printed on any surface on any background almost instantly, and you don’t even need to take a photo of the text! The feature works for 100+ languages if you have an active Internet connection and for 10 languages if you’re offline.
If you’re online:
Without an active Internet connection, TextGrabber will rely on its offline dictionaries to provide verbatim translations between English and nine other languages. Click here to see which languages are available offline.
Offline translation is useful when you have connectivity problems or if you're abroad and the roaming charges are unreasonably high. In situations like these, offline translation in TextGrabber will give you at least a general idea of what the text is about.
If you’re offline:
To have you all linguistically prepared for the World Cup 2018, we have compiled this list of the most common situations where TextGrabber may come in handy (e.g. at a restaurant, at a hotel, when getting around an unfamiliar city, in the shops, at a museum, etc.).
In this digital day and age, we all keep our data “in the cloud” to be able to access them anytime, anywhere. Storing all of your documents locally in your phone memory simply won’t do the trick. Clouds are handy, because they allow you to store huge amounts of data and make them accessible 24/7.
Today we’re going to compare three cloud storage services, each offering some unique capabilities and each having its own pricing scheme.
Dropbox initially offers you 2 GB of storage free of charge, but you can pump up your quota to 16 GB if you log in with your social media account and share a link to Dropbox with your friends. Or you can take out a monthly subscription, which will entitle you to 15 TB of storage space for $15.
A business account offers some additional features, such as the ability to restore your files or set up different access permissions. Dropbox Business costs USD 25 per user. Click here for more information.
Google Disk is the most commonly used cloud storage service. Its popularity is largely due to the fact that it comes preinstalled on all Android devices and thus is the first choice for many users. Initially, you get 15 GB of disk space, but $2 per month will buy you 100 GB. Google lets you store up to 30 different types of files. Google Disk shares your data with Gmail and Google Photo. Click here for detailed pricing information.
Mega is one of the lesser known file-sharing services. What makes it stand out in the crowd is its ability to encrypt content on the fly in your browser window and share files between trusted users using a Friend-to-Friend network.
As a starter, you get 50 GB of space, which is more than Google Disk or Dropbox. €4.99 will buy you 200 GB a month, and for €10 you will get 1 TB. Click here to find out more about the available plans and capabilities.
By Janna Markova, Internal Communications and Corporate Social Responsibility Specialist

I take every opportunity to proselytize green living and zero waste lifestyle. Once, my family even played host to a delegation from Sweden who wanted to see how I organized the separate collection of waste in my household. At the time, my husband, myself, our two kids, and our dog all lived in a small bedsit. Here are my tips for sustainable living at home.
You can see from the above that green living is not as complicated as you might have thought. It will be even easier when it becomes second nature.
Now is the time for a small CONTEST!
To take part in our contest, write in the comments three favorite features of TextGrabber below and an interesting story related to one of your favorite features. Meanwhile, we will randomly choose two comments by the end of the contest.
PRIZE – promo code for TextGrabber iOS (or FineScanner Pro, or BCR Pro, if you already have TextGrabber).
The contest will last until 12:00, July 20, 2018. Winners will be announced on the same day!
Good luck!
That’s all from us for today. Until next Monday, bye!
P.S. You can find the previous issue of this newsletter here.
